


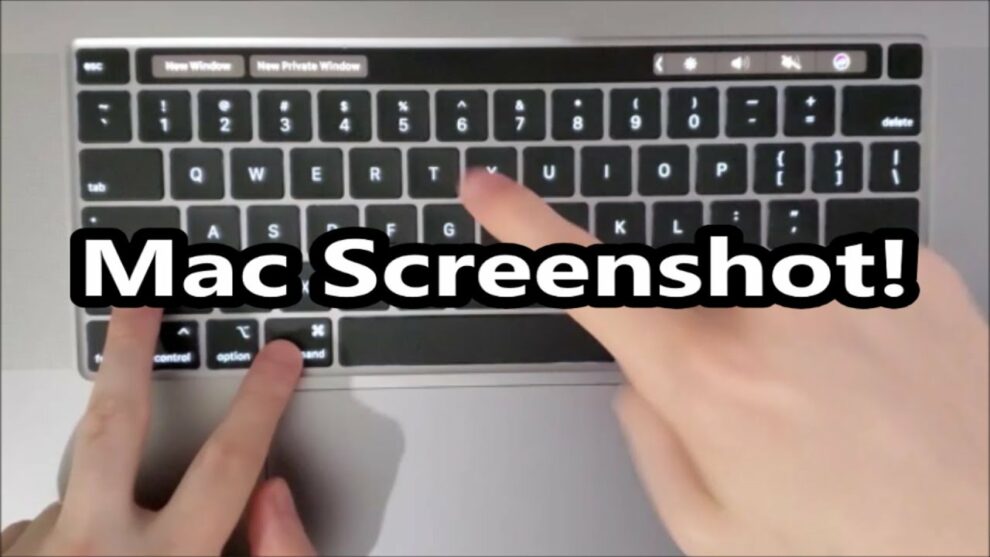
Knowing the way to take a screenshot is an important talent in case you need to seize what is presently in your Mac, whether or not it is tickets to an event, an electronic mail you have simply received, or in reality an image of your desktop. If you’re personal with any sort of Mac you’ve got 3 approaches to take a screenshot with keyboard shortcuts– and when you have a MacBook with a hint bar you’ve got a fourth approach. In this manual we’re going to display you the diverse keyboard shortcuts you want to realize to take a screenshot on your Mac. We’ll additionally display to you what you may do with the ones screenshots as soon as you have taken them. Apple offers you a truthful range of alternatives to without difficulty store, delete and open the screenshot for markup And in case you’re searching out extra courses on the usage of your Mac, right here are 10 guidelines to get the maximum from your Mac and the fine MacBook to purchase, in case you’re presently within side the market.
Command-Shift-3
This keyboard shortcut captures a screenshot of your whole display screen.
Shift-Command-4
Use this keyboard blend to show your cursor right into a crosshair, which you may drag to pick a part of your display screen to seize. Release the mouse button or track pad to take the screenshot on your device. You have some of different alternatives after hitting
Shift-Command-4:
Press and launch the distance bar:
The crosshair becomes a bit of a digital cam icon, which you may pass over any open window. Click in your preferred window to take a screenshot of it. A screenshot captured with the aid of using this approach capabilities a white border across the window with a chunk of a drop shadow.
Press and maintain the distance bar (after dragging to focus on a place however earlier than freeing the mouse button or trackpad):
This locks within the form and length of the choice place however helps you to reposition it at the display screen. It’s very available in case your preliminary choice is off with the aid of using some pixels; simply maintain the distance bar to reposition it earlier than freeing the mouse button to snap a screenshot.
Hold down the Shift key (after dragging to focus on a place however earlier than freeing the mouse button or track pad):
This locks in every aspect of the choice place made with the crosshairs store the lowest part, letting you pass your mouse up or down to place the lowest part. Without freeing the mouse button, launch the Shift key and hit it once more to reposition the proper fringe of your choice place. You can toggle among shifting the lowest part and proper part with the aid of maintaining the mouse button or touchpad engaged and urgent the Shift key.
Shift-Command-five
A shortcut command brought in Mac OS Mojave (2018), this mixture calls up a small panel at the lowest of your show together with your display screen to seize alternatives. There are 3 screenshot buttons that allow you to seize the whole display screen, a window or a choice of your display screen. Likewise, the 2 video-recording buttons allow you to report your whole display screen or a choice of it. On the left is an X button to shut the screenshot panel, however you may additionally simply hit the Escape key to go out. On the proper aspect is an Options button. It helps you to pick in which to store your screenshot — Desktop, Documents, Clipboard, Mail, Messages, Preview or Other Location and set a five- or 10-2nd put off so that you can line up gadgets that could in any other case disappear whilst you interact your screenshot tool. By default, the Show Floating Thumbnail choice is enabled, which places a bit preview thumbnail of your simply-seized screenshot within the lower-proper nook of your display screen, just like the screenshot method with iOS. Unlike your iPhone ($899 at Amazon), you may flip off this preview thumbnail in your Mac. Lastly, you may pick to expose your mouse pointer in a screenshot or video. If the screenshot panel is on your way, you may grasp its left part and drag it to a brand new spot in your display screen.
Bonus for Touch Bar MacBooks: Command-Shift-6
If you have got the 16-inch MacBook Pro or some other version with the Touch Bar, did you understand you may take a screenshot of what is presently displaying at the Touch Bar? Just hit Command-Shift-6 to take a totally extensive and thin screenshot of your Touch Bar.
Popular Blog : How to Fix oxo and oxo error code
Easy annotation
If you include the Floating Thumbnail, then you will advantage short get entry to Markup gear to annotate your screenshot. You can swipe the Floating Thumbnail away or simply permit it slip away on its personal and it will be stored to the spot you ultimately stored a screenshot. Click the Floating Thumbnail and it will open in a Markup View preview window (however now no longer Preview) with all the markup gear you get in Preview.
You can proper-click on the Floating Thumbnail to:
- Save the screenshot in your desktop, Documents folder or clipboard
- Open it using any app such as Mail, Messages, Preview or Photos
- Show in Finder
- Delete Open in within side the Markup preview window defined above
- Close (and store)
Longtime
Mac screenshotters can be sluggish to undertake the brand new Command-Shift-five shortcut, however I discover myself the usage of it extra for the cap potential to annotate screenshots while not having to open Preview and quickly delete screenshots that I realize without delay I messed up.


Add Comment