


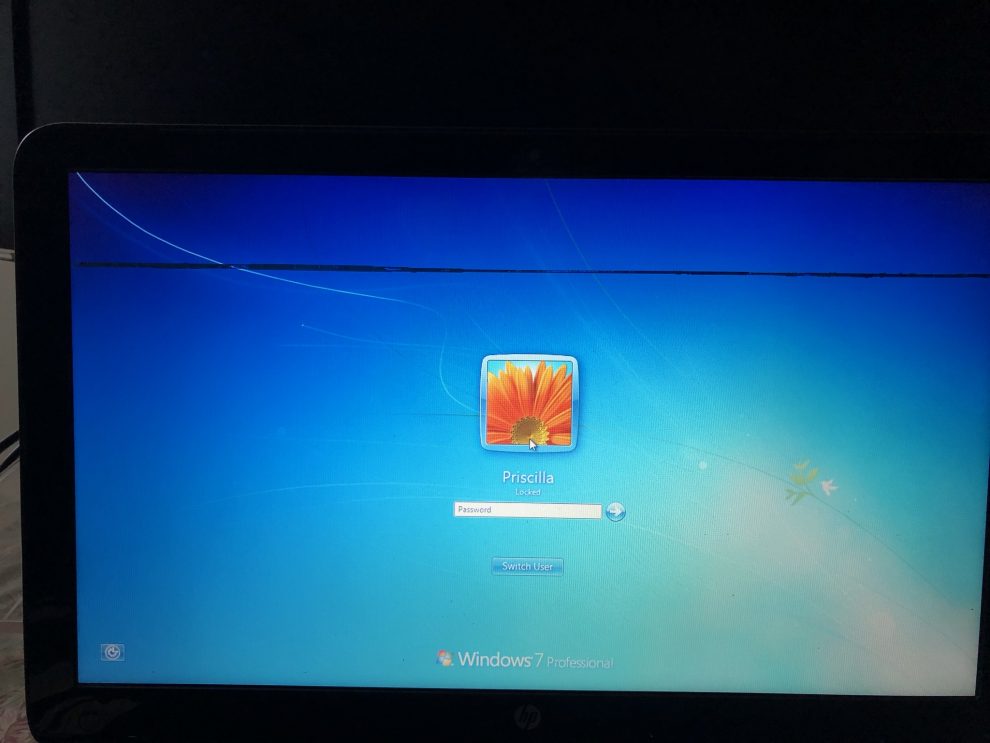
There can be plenty of reasons why there are Horizontal Lines On Laptop Screen display. In order to fix the laptop screen issue, you might require to find out what causes the issue.
What is Horizontal lines
Horizontal lines is a straight line that goes on Laptop from right to left and left to right. A vertical line is a straight line that’s similarity to the horizon or the ground. It has zero pitch. It’s a straight line that’s drawn from left to right or right to left and it’s resemblant to the x-axis in the match airplane. In other words, a straight line that has an intercept only on the y- axis, not on the x-axis is called a vertical line. The base that we draw for flat shapes is a vertical line. Let us learn the parcels of the vertical line, its equation, and the pitch of a vertical line. Horizontal lines are a basic issues in laptop nowadays. Here, is not a single problem for Horizontal lines.
Why Horizontal Lines on Laptop Screen Display in Windows 10
The horizontal lines on laptop screen might be caused by multiple issues, ranging from incorrect video cable connections, to outdated graphics card drivers, to defective vertical cables. You can enter the BIOS settings in order to determine whether it is a hardware-related or software-related problem.
As BIOS isn’t a part of the Windows 10 OS, if you still find horizontal lines on the laptop screen, it directly indicates that it is a software-oriented problem. Therefore, if you find no Horizontal Lines On Laptop Screen in Windows 10, it defines that it’s actually related to the hardware.
How to Fix Horizontal or Vertical Lines on PC/Laptop Screen Display in Windows 10
There are some recommended procedures that can be used in order to fix horizontal lines on the laptop screen, applied to any screen like Samsung, Dell, HP, Lenovo, Acer, LG, etc..
Fix 1: Reattach the Video Cable
If you find horizontal lines on the laptop screen in Windows 10, then this might be caused by the improper video cable connection. So you can attempt to reattach the video cable to the screen & verify whether the horizontal lines are gone or not

Fix 2: How to replace the Ribbon Cable in Windows 10
In case, if you find that your ribbon cable is faulty or damaged, then the horizontal lines will display on the laptop screen in Windows 10. You can replace the ribbon cable with a new one & verify whether the horizontal lines still exist on your laptop screen.
Fix 3: Update Your Graphics Card Driver
When it is proved that the horizontal lines on the laptop screen in Windows 10 are software-oriented issues, the main culprit is the outdated graphics card driver. So, in such scenarios, you shall update it to the latest version in order to fix the driver compatibility issues. And to do it, you need to update the Display driver from Device Manager &directly verify if it helps, that will take a long period of time.
- In the first place, press the Windows key along with X & tap on the “Device Manager”.
- Once the Device Manager opens, just look for the “Display Adaptor”.
- When located right tap on the video driver & choose the option named “Update Driver”. And when it is done, reboot the laptop & verify if the issue persists.
On the other hand, you can attempt the simple as well as straight-forward way to adopt a professional driver download & update utility. Well, it is the safest & fastest way to update drivers, which can aid to figure out the outdated graphics card driver in seconds & then download and install the most advanced version in 2 minutes.
Popular Blog : Outlook’s Crashing with Exception Code 0xc0000005
Fix 4: Download the Most Advanced Graphics Card Driver with Driver Talent
- In the very first step, you need to scan Your PC- Start Driver Talent. Hit the option named “Scan” in order to make a complete scan of your laptop. All the corrupt, outdated, missing, or broken hardware drivers will be recognized instantly.
- Update Graphics Card Driver-You can one-click the option “Update” in order to update the graphics card driver to the most advanced version.
- Restart Your Windows 10 laptop- make sure you perform a reboot of your device in order to make the new graphics card driver come into effect.
Here you need to keep in mind that backup your drivers with Driver Talent prior to any driver updates in case of driver crashes.
Fix 5: Modify Your Screen Resolution Settings
Improper screen resolution settings can also be responsible for the horizontal lines on the laptop screen in Windows 10. And if you want to get rid of such kinds of issues across your display, then you have to modify the screen resolution settings. If you are not aware of how to modify the screen resolution settings, then you can simply follow the under mentioned instructions. Just make sure that you follow the instructions in the same manner as instructed!
- Initially, go to your laptop screen & right tap on the empty place.
- Now, you need to locate and invoke the “Display Settings”.
- Once you access the Display Settings, you will find another “Settings” window that comes up on the screen. Choose ‘Scale & layout’ that is located at the middle of the screen.
- Well, here you will find a number of different screen resolutions.
- So, here you need to set the best suited resolution from the drop-down menu.
- Now, save the changes by hitting the Ok button twice
Fix 6: Run DISM Scan for Checking & Restoring the System File Corruption
DISM scan is another good way that can be used for resolving the horizontal lines on the laptop screen issue. So, in the very first place, you need to invoke the ‘command prompt’ by holding the Windows key along with the X & choosing ‘Search’.
And when the command prompt appears on the screen, you just need to copy & paste the underlying commands & hit the Enter button after each command:
- exe /Online /Cleanup-image /Scan health
- exe /Online /Cleanup-image /Restore health
Fix 7: Reboot
Reboot your monitor. Although it may seem like a simple fix, it can often fix any screen problems, such as horizontal lines.
Fix 8: Restart your computer
You can quickly restart your computer to fix many technical issues. It could also eliminate any flickering lines.
Fix 8 : Use a different monitor
Try connecting to a different screen or monitor if possible. This will help you to determine if the lines are caused either by the screen of your computer or the computer itself.
Fix 9: While your monitor is disconnected, check it
If your monitor isn’t connected, keep it powered on and check for flickering lines or other issues. Your monitor may be damaged if you notice distortion.
Fix 10: Remove the keyboard and reconnect it
If your computer has a removable keyboard you can remove it and wait for a few seconds before reattaching it.
Fix 11: Use cotton balls to gently wipe the screen
If none of the above solutions work, it is most likely a hardware issue. Turn off your computer and wipe the screen with cotton buds. You should proceed cautiously to avoid causing further damage to your laptop.
Fix 11: Activate a troubleshooter
Run the Video Playback and Program Compatibility troubleshooters by opening Settings, going to System > Troubleshoot, and then selecting “Other Troubleshooters.” Run any suggestions for additional troubleshooters that are given to you.
Fix 12: Restore your monitor’s factory default settings
Use the built-in settings on the external monitor or screen, not the settings on your computer, to restore it to its factory defaults if you’re using one. Typically, the actual Options or Menu button on the computer monitor gives you access to these settings.
What is the slope of a horizontal line
The pitch of a vertical line is zero. While calculating pitch = rise/ run, we see that there’s no” rise” in the y- equals as they’re the same throughout the vertical line. Hence there’s no change in y equals and ultimately, the pitch of the vertical line is 0. Let us understand this by drawing a vertical line on a match airplane.
Follow the way to draw a vertical line on a match airplane
Step 1 Place a fleck at any arbitrary point on the match airplane
let’s ay at( 2,-3). Step 2 Identify its y- match. Then they y- match is-3. Step 3 Plot some other point( s) whose y- match is the same as the point colluded. Let’s plot( 1,-3),(- 2,-3),etc. Step 4 Join all the points and extend them on both sides to get a vertical line.
At The End
When you are done with this, simply close the command prompt & reboot the laptop in order to verify if it works. And for any other Windows 10-oriented problems, such as no Wi-Fi available, black screen, stuck in a reboot loop & many more, simply do visit our site!!! But in case of the major issues, it is always better to seek expert assistance since experts can give you the best solutions at your convenience! Good luck….!!!


