


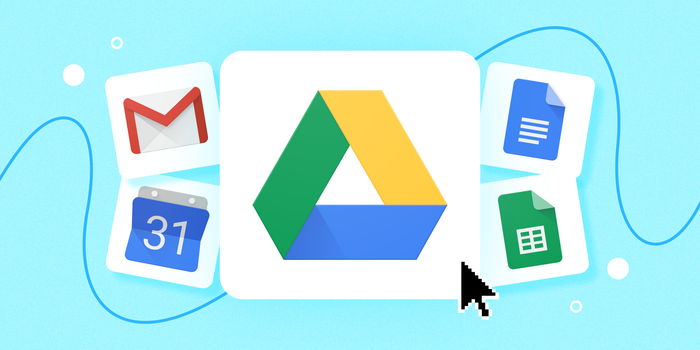
Generally, people rely on cloud storage in order to save required files and documents. Google generally renders 15GB of free space in Google Drive and while initially, it looks like a lot. But, the 15GB space is not only for the documents and files you upload on Drive it also includes Gmail and Google Photos so here is the article about how to clear google drive step by step
The attachments and messages sent or received using your Gmail account and all the photos that you upload on Google Photos share a similar amount of storage. Well, depending on the use, the 15GB space might exhaust fast, and afterward, you won’t be able to get emails.
And when you reach your 15GB limit on Google Drive, you have only two options in your hand, you can either purchase Google’s premium package or clear the storage. While the initial approach will cost you money, the other one is completely free and requires only 5 minutes.
Steps about how to clear google drive data only in 5 minutes
Step 1. Set Your Default View
Initially, you need to view folders and files in Google Drive in a number of different styles. For instance, you will be able to display everything in the grid view, and also set the line spacing according to your preference, which can be comfortable, cozy, or compact for you.
Determine how you like to look at Google Drive by making certain changes in the settings until you’re 100% satisfied. People often like list views with comfortable spacing, therefore, that’s what they’ll see in most of the screenshots here.
Don’t ignore the left side rail. People often focus on the center of the screen when they check out their Google Drive. When it comes to managing all the files and folders, but, do not overlook the left rail. You will find all files and folders easily and reserve the center of the screen for the contents of whatever file you select to view.
Step 2. Make a Skeleton of Folders
This method is always better, to make a skeleton of files for yourself using whatever names and structure that works best for you. How do you manage your folders and files in other applications? Well, what appears to mind whenever you think about some document you need urgently? The most convenient way in order to understand how to set up your files and folders is to answer these two queries.
For the majority of people, what appears to mind first is the content of their work, so that they will be able to use certain thematic terms like School Work or Project X for files. Well, in this situation, most of us cling to dates.
When people need to find a file, be it a small part of writing or an entire picture, people always think about when they made it. Resulting, we employ dates regularly in our folder and file naming conventions. Whenever you look at a folder that starts with some numbers, you will be able to determine exactly what it means, and this helps to find the files you require quickly.
So, always try to make folders with proper names that will help you to find out the folder whenever you want!
Step 3. Make Subfolders
Subfolders are an organizational windfall. Therefore, it is recommended to make them and use them whenever you want. In the near future, they help to sort out and classify the required files and folders into small to more specific particular groups.
Well, if you have already created files/folders but are stuck attempting to figure out which subfolders to create, then perhaps you do not require them yet. You may also create a folder named DONE or OLD so that when the task gets done or a file is out of use, you can easily drag & drop it in there.
Step 4. Employ some Colors
We all are aware of the fact that colors are a nice visual cue, and Google Drive allows you to add some custom colors to your preferred files and folders. Try to right-tap on any file/folder, either from the main window or the sidebar, and select the option named Change Color. Now simply choose the color according to your liking or preference.
Step 5. Put Some Stars to Often Used Folders and Files
Google Drive allows you to put a star to folders and files. You can perform the very similar way you put a color: right-click on the folder or file and select the option names “Add to Starred”.
Step 6. Move Essential ‘Shared With Me’ Files
Have a look at the header located in the left rail named Shared With Me. Tap on it, and a mess of folders and files might appear. Do not worry about them.
If there is anything essential in that batch of stuff, there are 3 efficient things you can do with them:
Put a star. Putting a star to a folder or file that has been shared with you does a similar thing as putting a star to one of your files/folders. This makes it appear in the Starred content list.
Afterward, save to Drive/move to a folder. Apart from this, another approach is to put the file to your Google Drive and save it in a folder. Thereafter, right-tap on the folder/file and choose Move To. After that, in the window that comes up, head over to the folder where you need to keep this file.
Another approach that does a similar thing is to choose the item you desire to save and then tap the Google Drive button that is located on the top-right screen. Now, you get a chance to move it to the folder. Either way, you efficiently make a shortcut to the shared file from the current location you select. The file is still shared with everyone and also belongs to the actual owner.
Try to make a copy. If the copy was shared with you, the new copy becomes yours. Here, you need to keep in mind that this is just that, a copy. This is no longer attached to the shared file, and similar people do not necessarily have permission to open it anymore.
Step 7. Dump the Trash
Once you eliminate a file or folder from Google Drive, it is redirected into the trash, and it remains there unless you take out the trash. The longer you allow trash to build up, the less likely you’re to have the entire faith that everything in it should be destroyed, and afterward, you will hang onto your trash even longer. It is recommended to clear up the trash from time to time. This will help you to know about how to clear google drive storage space at the correct level, and it will assist your sanity since you attempt to keep a properly organized account.


