


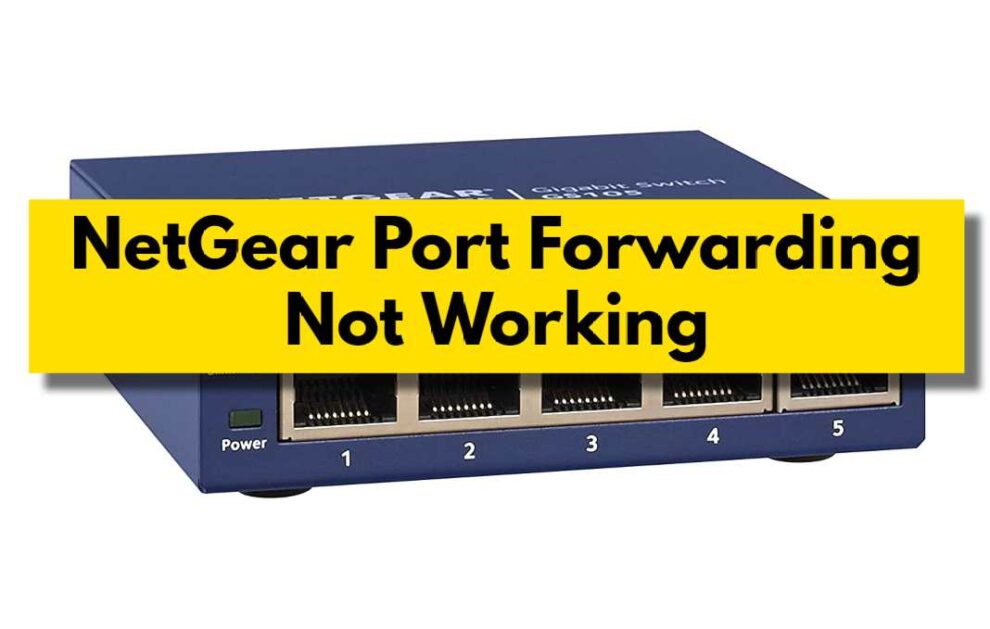
If your router is not forwarding TCP ports correctly, you may experience problems with your computer or game console connecting to the Internet. In this post, we will provide a step-by-step guide on how to troubleshoot port forwarding not working on Netgear routers.
Netgear is known to build the best network hardware for service providers, businesses, and individual private users. While its routers undoubtedly offer great features and service support, complaints from its users are never-ending. With severe technical glitches, Port Forwarding Not Working on Netgear is the most significant reported issue among many. But worry not; such an issue is not limited to Netgear routers and is common to most routers.
Before we resolve the Netgear Port Forwarding Not Working issue, let’s understand what Port Forwarding is and what could cause this issue to your Netgear router.
What is Port Forwarding, and why it occurs?
Port forwarding on a Netgear router is a process that allows incoming internet requests to be routed to specific devices on a private network. This can be used to access web servers, FTP servers, game servers, or other network devices that require external access. Port forwarding is configured on the router by entering the details of the devices to which the requests should be routed, such as the local IP address and port number.
Causes for Netgear Port Forwarding Not Working
While we cannot pinpoint the exact cause of why your Netgear Port Forwarding is not working, several reasons are the culprit for the router issue interfering with your router connectivity. If you are knowledgeable in these areas, you may not find resolving the problem troublesome. But if you need to learn about router mechanisms and settings, you better call an expert instead of tackling the issue with your hands.
With that said, below are a few reasons for your Netgear Port Forwarding Not Working issue:
- The Netgear powerline adaptor is not working sufficiently.
- Internet connectivity issues.
- Inaccessible servers block port forwarding from the internal network.
- Incorrect settings of the Port Forwarding in the Netgear router.
- Entering private IP address in the Status page for the WAN IP address. The IP address must be exact in the modem router too.
- Incorrect selection of the incoming interface in the Input field.
- Special software or active firewall restricting the port forwarding for internet protection.
- Standard ports and protocols set by your ISP to filter inbound user traffic. If your ISP provider blocks the traffic on some ports, the Port Forwarding Not Working issue might occur on your Netgear Genie port.
Basic Troubleshooting ways to fix the Netgear Genie Port Forwarding Not Working
Before you proceed to apply the possible solutions to resolve the Genie Port Forwarding Not Working on your Netgear router, you need to check a few things;
- To set up port forwarding, your router’s WAN interface must have a public IP address. This is used to connect to the internet. Port forwarding won’t work if her WAN interface on the router uses a private subnet IP address.
- To check if port forwarding is working, you need to access your router’s WAN interface from the Internet. Port forwarding does not work when accessing from the local network.
- Check to see if the ports are accessible from the computer you are trying to set up port forwarding. This can be done by opening a web browser and entering the router’s IP address in the address bar. If the ports are accessible, ensure the router is set up to allow port forwarding.
- For the port to be considered “open” during the check, the service or application to which the port is forwarded must be started. For example, if the FTP server is not started and there is a NAT rule for port forwarding, the port status will be set to “closed” during the check.
However, what if the Netgear Genie Ports are open and accessible, yet the Port Forwarding is not working? If that is the case, you can do the following;
- If the ports are accessible, but the Port Forwarding is not working, you may need to clear the cache on the router. You can do so by clicking on the three lines in the top left corner of the main screen and selecting Administration. Under the System heading, click on the Cache tab. Under the Clear Cache heading, click on the Clear All button.
- If the ports are accessible, but the Port Forwarding is not working, you can reset the router. You should press the reset button on the back of the router, wait for the router to reboot, and then enter the new settings.
- If the ports are not accessible, or the Port forwarding is working, but the traffic is not getting through, you may need to adjust the settings on the router. Do this by going to the web browser on the computer, entering the router’s IP address, and then entering the port number you are trying to forward.
- If the ports are accessible, the Port Forwarding is working, and the traffic is getting through. Still, the computer is not receiving any internet connection; you should check the cable connection.
- If the ports are accessible, the Port Forwarding is working, and the computer receives an internet connection. Still, the traffic is not getting through to the devices on the network; you should check the firewall settings on the router.
After you have checked those mentioned above with your Netgear router’s Genie Ports, you can first attempt the primary troubleshooting steps before applying the rather complex solutions.
Solutions to Optimize Port Forwarding on Netgear routers
If you’re experiencing problems with port forwarding on your Netgear router, there are a few things you should do to troubleshoot the issue and optimize your port forwarding settings. First, ensure your router is updated to the most recent firmware. This will fix a lot of common problems.
If the port forwarding is still not working, you can try the following:
Check your network cables.
Ensure the cables connecting your router and computer are correctly plugged in. If you’re using a wired connection, ensure the cable is plugged in at the back of your router and the computer. If you’re using a wireless connection, ensure the router is properly pointed at the wireless router.
Check your firewall settings.
Another way to prevent Netgear port forwarding from not working is to check your firewall settings. Some firewall programs can block port forwarding. Windows Firewall disallows connections from different subnets and splits the difference based on the selected network location. Ensure your firewall is turned off or set to allow port forwarding.
The best way to check if your firewall is blocking the port or not is mentioned ahead:
- Check for blocked ports using the command prompt.
- Type cmd in the search bar.
- From the Command Prompt context menu, select Run as administrator.
- At the command prompt, type the command and press enter.display status firewall.
- This will show you all active and blocked ports on your firewall.
Check your router’s port forwarding settings.
Using a Netgear router, you may need to disable some of its security features to enable port forwarding. Performing a check of the Port Forwarding settings may be useful.
- Login to your Netgear router and navigate to the Port Forwarding section.
- Launch the Web Management page of your router.
- Go to the Forwarding section and choose the Virtual Servers option.
- Under it, select the Add New option.
- Select your Service Port and enter your device’s IP address where you want to open the Genie Port.
- Now, click on the Protocol and Enable the Port Status.
- Hit the Save button, then click on Status Page.
- You should now verify your router’s WAN IP address.
Check your router’s IP address.
If you’re using a DHCP-enabled router, ensure the router’s IP address is properly set. You can find your router’s IP address on the router’s status page. Ensure that your router’s IP address is public; if not, you must also enter the same private IP address on your modem router.
Try different ports
Using a web server on your computer, use a different port. If you’re using a game server, try using a different port.
Disable your antivirus software
Many antivirus programs block port forwarding. Make sure that your antivirus software is disabled before trying to enable port forwarding.
Contact your ISP
Contact your ISP and ask them to forward ports if you’re using a wired connection. Contact your wireless provider and ask them to forward ports if you use a wireless connection.
Reset a Netgear router
If you are having trouble with port forwarding not working on your Netgear router, you may need to reset it. This will solve most issues and get you back on track.
- Ensure you have the correct device and software. If you are using a computer, you need to have a cable that plugs into your router and the computer. If you are using a mobile device, you must have a router and a mobile device.
- Ensure your computer is connected to the router.
- Next, open your browser and go to the router’s configuration page. You will likely see a login box. Enter your login credentials when you set up the router.
- Click on the main menu and select the services tab. You will see a list of services.
- Click on the Port Forwarding section.
- Click on the Forward button. You will see a list of ports. You should now be able to enter the port number you want to forward and the destination.
- Lastly, click on the save button. The router will now forward the selected port.
Common issues and solutions when troubleshooting Port Forwarding on a Netgear router
A few common issues can arise when port forwarding isn’t working on a Netgear router. This section will cover the most common problems and the solutions that can be used to troubleshoot them.
The port forwarding is not enabled.
If you can’t access the router’s configuration page, the port forwarding feature may not be enabled. To check this, try going to the “WAN” tab > clicking on “LAN Port Forwarding” > checking the “Enable LAN Port Forwarding” checkbox. You’ll need to contact your router’s manufacturer if the feature is not enabled.
The port forwarding is not correctly configured.
If you can access the router’s configuration page, but the port forwarding feature needs to be fixed, the port forwarding configuration may need to be corrected. To check this, try going to the “WAN” tab > clicking on “LAN Port Forwarding” > confirming that the “Enable LAN Port Forwarding” checkbox is checked. If the feature is not working, you’ll need to contact your router’s manufacturer for assistance.
A firewall blocks port forwarding.
If you can access the router’s configuration page, but the port forwarding feature is not working, the port forwarding configuration may be blocked by a firewall. To check this, try going to the “WAN” tab > clicking on “LAN Port Forwarding” > confirming that the “Enable LAN Port Forwarding” checkbox is not checked.
By default, the NETGEAR router’s firewall blocks all incoming connection attempts from devices on the Internet to your local network. If you want to connect devices on the Internet to devices on your local network, you can configure your router with port forwarding rules for that purpose. Netgear routers use port forwarding rules to forward incoming traffic with specific protocols to devices on your local network. For example, you can make your FTP server, local web server, or game server visible and available on the Internet. You can specify a server for your application. You can also set the default DMZ server to which the router forwards all incoming protocols.
The port forwarding is disabled.
If you can’t access the router’s configuration page, the port forwarding feature may be disabled. To check this, try going to the “WAN” tab > clicking on “LAN Port Forwarding” > confirming that the “Enable LAN Port Forwarding” checkbox is not checked.
How to Forward Ports on your Netgear Router?
As we have listed all the possible solutions to resolve the Port Forwarding Not Working on Netgear routers, below are the steps to open Ports;
- Sign in to your Netgear Router IP.
- Navigate to the Advanced tab > choose Advanced Setup.
- Click on Port Triggering or Port Forwarding.
- Now, move to the Add Custom Service and enter your device name.
- Then, enter your Port number with the external port.
- Select the type of Protocol (UDP/TCP).
- Enter your service IP address where you intend to port forward.
- Hit the Apply button and reboot the router.
How to add Custom Port Forwarding on the Netgear router?
Netgear routers provide the option to set up custom port forwarding rules to support many services. This is out of the default router settings. Below are the steps to set up or add a custom port forward service on your Netgear router via the router’s web interface.
- Identify the port number or range of numbers that your application is using. This information can be obtained by contacting the application’s publisher, user group, or newsgroup.
- Launch a web browser from a device connected to the router’s network.
- Enter www.routerlogin.net.
- A login window appears. There, enter your username and password. The username is admin. The password you entered when you logged in for the first time.
- The BASIC home page or dashboard is displayed.
- Select Advanced > Advanced Setup > Port Forwarding/Port Triggering.
- Make sure the Port Forwarding radio button is selected as the service type.
- Click the Add Custom Service button.
- Enter a descriptive name in the Service Name field.
- In the Service Type field, select a protocol. If in doubt, choose TCP/UDP.
- Enter the starting port number in the External starting port field. Enter the same port number in the End Port field if your application uses a single port. If your application uses a range of ports, enter the last port number in the range in the External End Port field.
- Specify the internal port using one of the following methods: Leave the “Use same port range for internal ports” check box selected. Enter port numbers in the Internal Start Port and Internal End Port fields.
- Enter an IP address in the Internal IP Address field or select the radio button for an attached device listed in the table.
- Click the Apply button.
This custom service feature is now under the list of the Port Triggering or Port Forwarding page.
How to disable Netgear router Genie Port Forwarding?
Netgear routers use numbered ports to allow or deny certain types of traffic to your computer. Some games or programs require port forwarding for optimal performance. Port forwarding configuration is configured as per the rules of the Netgear router. To stop port forwarding, remove these rules and allow your Netgear router to use the default port configurations or disable them so you can easily re-enable them later.
Steps to disable Port Forwarding on Netgear router:
- Open any web browser on your device and enter the following in the address bar – “192.168.0.1”
- Next, enter your Netgear login credentials as admin by default.
- Select the Port Forwarding tab under the Advanced section.
- When you see the “Enable” box for port forwarding, uncheck it.
- If your Netgear router is of a different model, you may select the needed rule and hit the Delete button under the Edit Service menu.
- Besides the Port forwarding, there will be a circle to disable the rule.
- Click on Edit Service and hit the Apply button.
- Also, go to the Action drop-down menu and click on the Block Always option.
- Finally, click the Apply Changes button to disable your Netgear router’s port forwarding.
Conclusion
Opening ports on your router has certain advantages, but it also has its drawbacks. It exposes your device to major online risks and makes you vulnerable to malware attacks. Opening a port removes a layer of security. So when opening ports, take extra precautions to protect your router. This is because it provides a layer of protection between your device and the rest of the internet. It protects your device with an encryption layer, keeping it safe even if your router is hacked.
If you are having trouble with port forwarding not working on your Netgear router, it is essential to troubleshoot the issue. This will involve examining your network connection and understanding your router’s settings. Once you have found the problem, you can take appropriate measures to resolve it. Netgear routers often come with a limited warranty, and the router may be covered if the problem is due to a manufacturing defect.
Netgear routers are very popular and have a wide range of features. As a result, it is common for users to experience difficulties with port forwarding. This article outlined the most common problems and provided solutions. You may need to contact customer support if you cannot resolve the issue by adjusting your router settings. For expert assistance, call the Netgear customer support number at +18555894554 or email [email protected]. You can also get a live chat with the service.


Add Comment